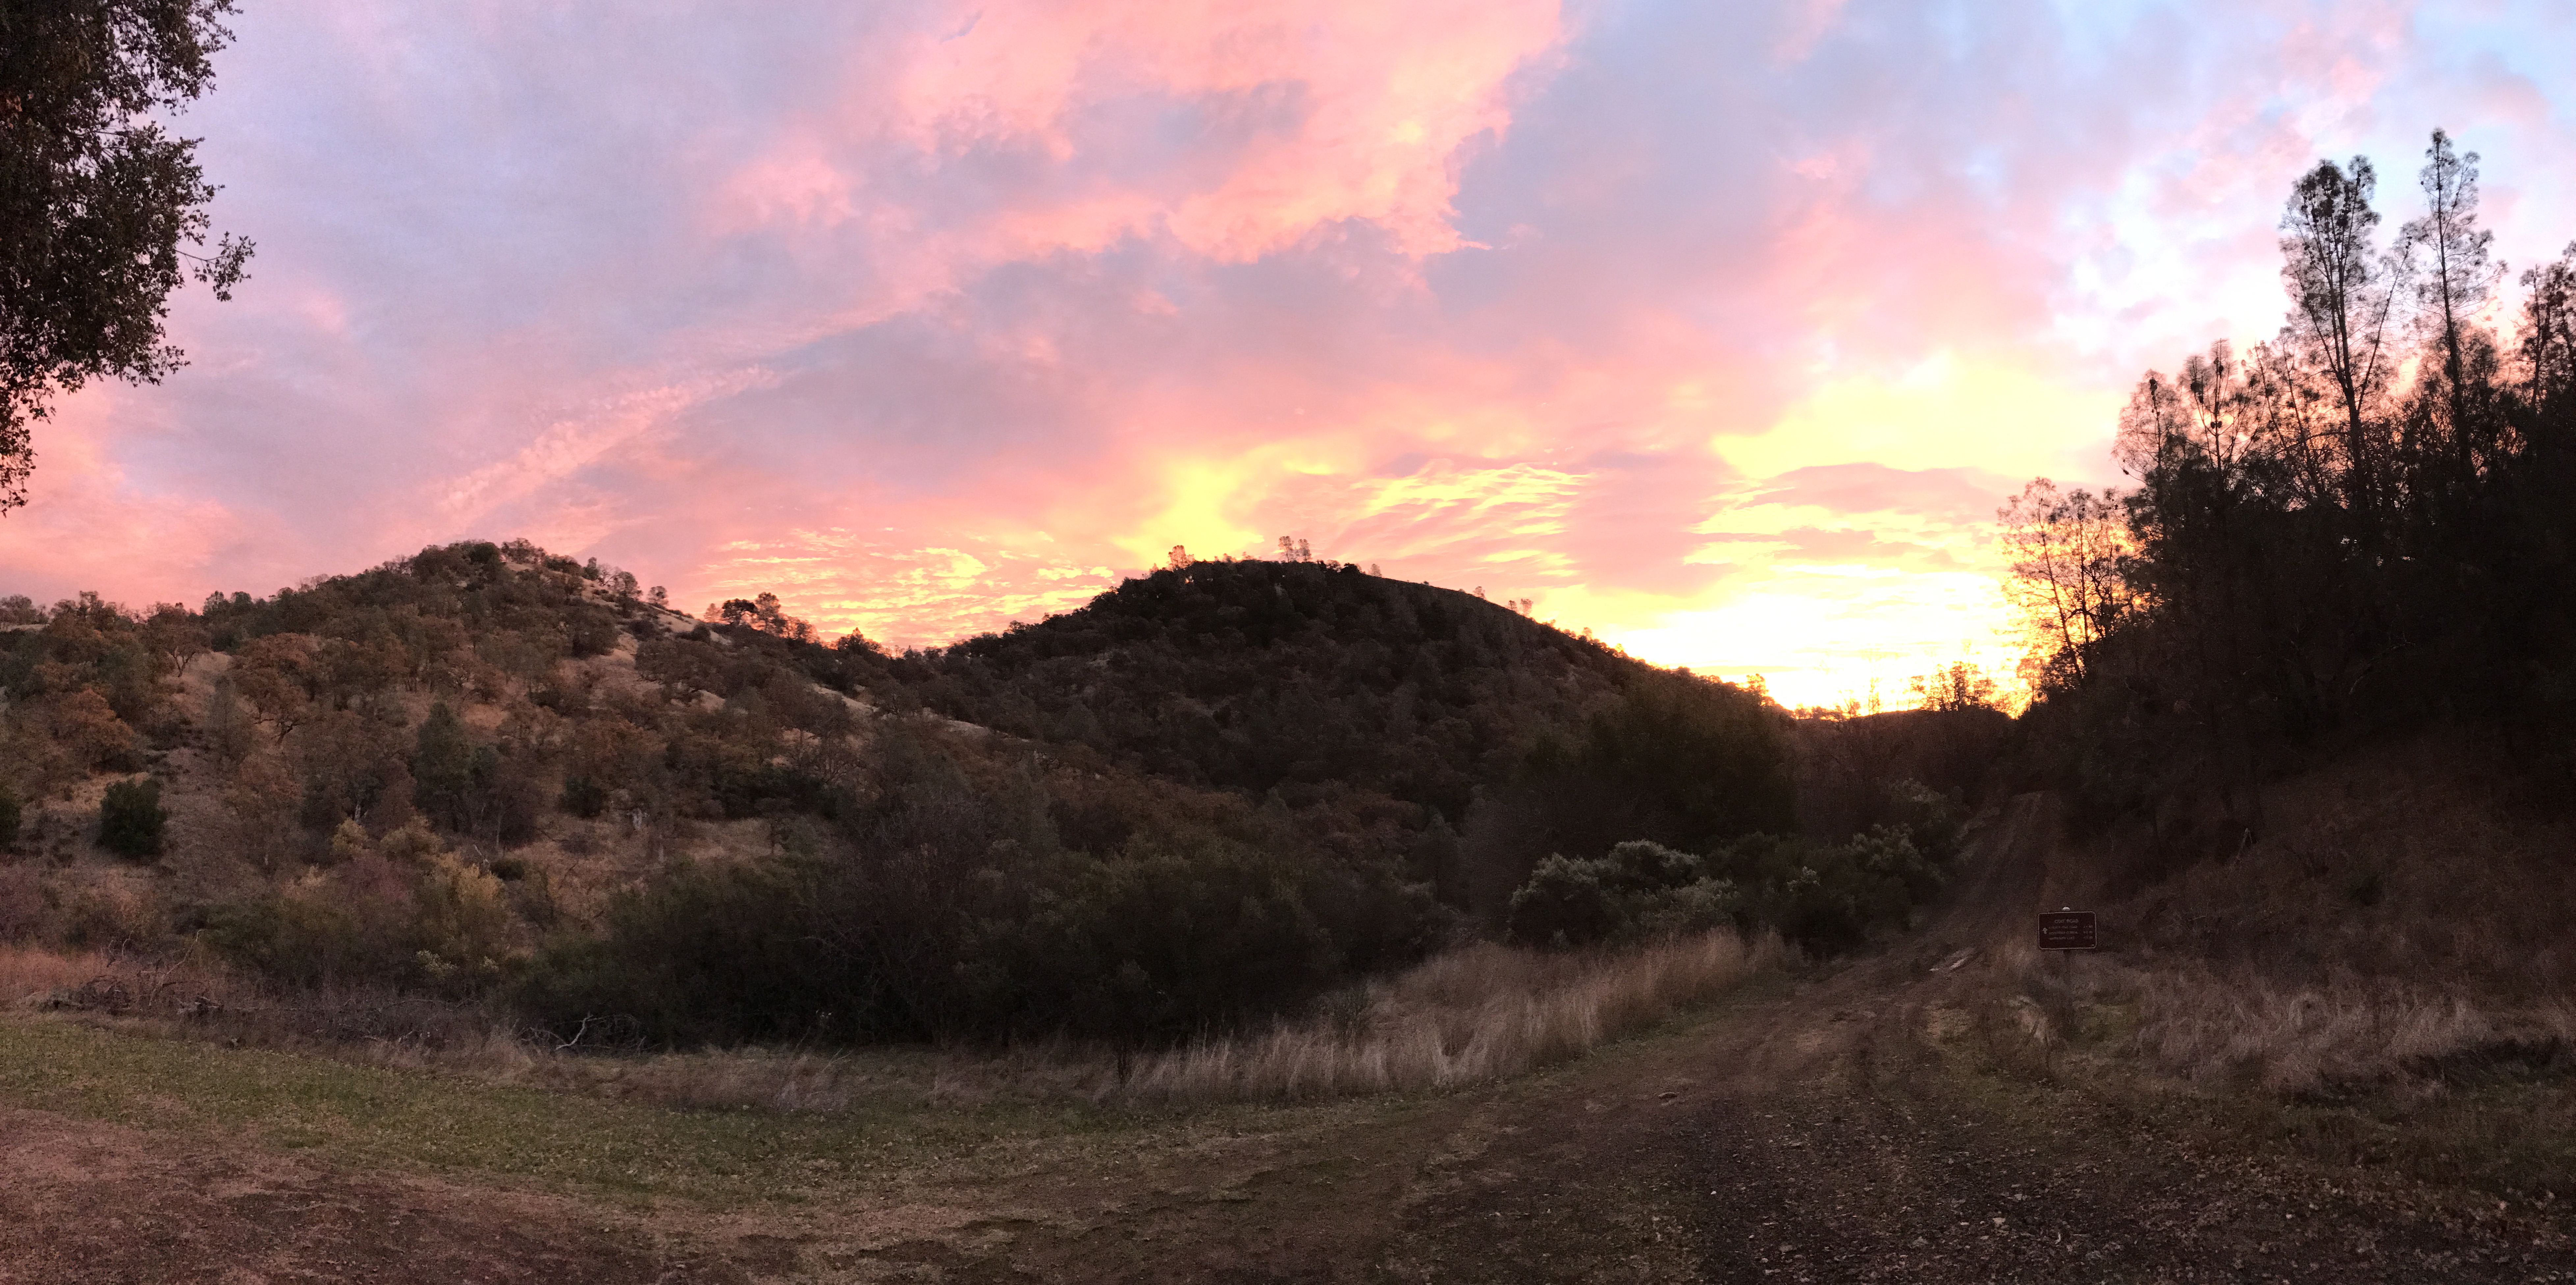
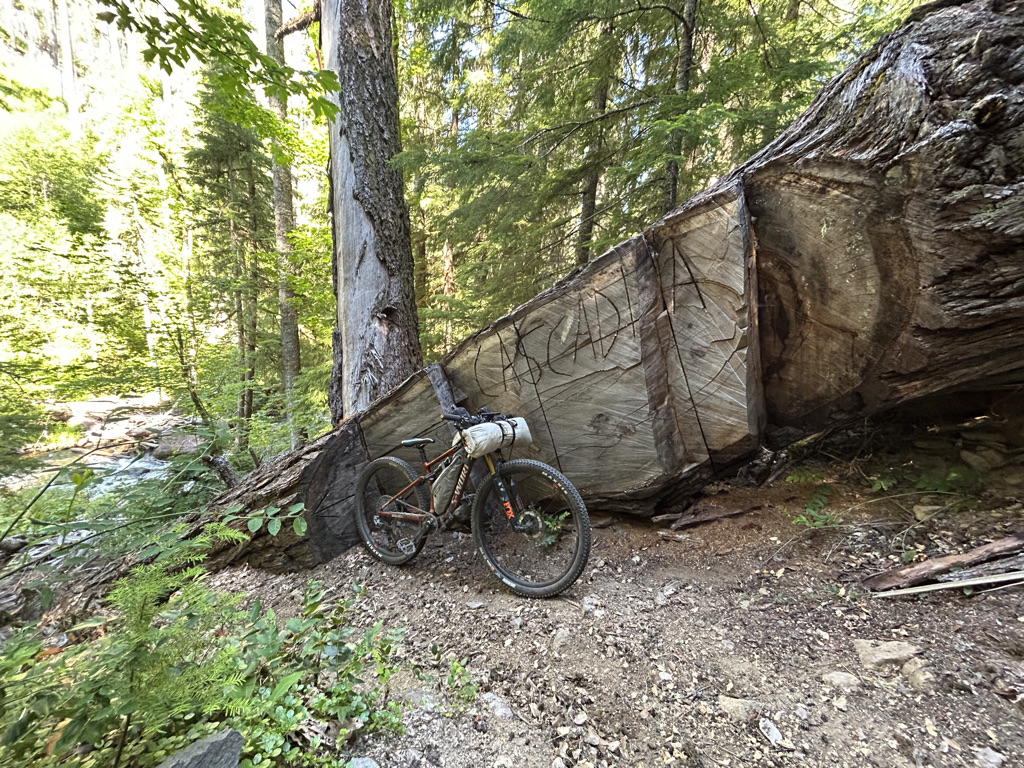
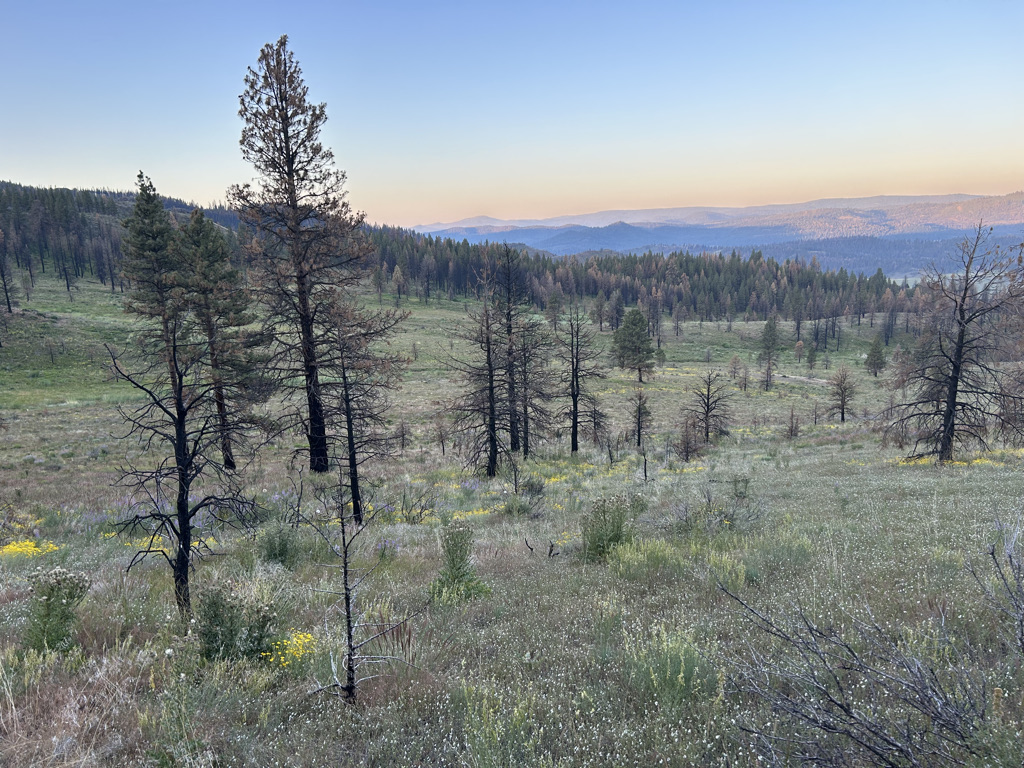
Bruce and I went on our first bikepacking trip on the 2017 Thanksgiving long weekend, and it was grand. We went to Henry Coe state park, known in very small circles for it’s vast network of primitive trails and steep fire roads. How did we fare with all those hills? What did we bring? How did we pack it? What was our route? Inquiring minds everywhere are demanding to know!
Day 1: Headquarters to Mississippi Lake
We decided to start our trip from park headquarters so that we could check-in with the ranger, check the water situation and give clues as to where to find our dead bodies. We then started out the favored mountain biking route: Flat Frog to Middle Ridge to climb out of Poverty Flat.
Poverty Flat was a sucky steep fire road climb, then we did a quick fun scoot down Shafer Corral to the Narrows, where we headed North to Bear Mountain, with it’s soul-crushing 30-40% grade hills and false summits that never seem to end. It is a little bit extreme on a normal day. But with a loaded bike, it was insane. Luckily, after Bear Mtn there are just a few easy rolling hills and then you just coast down to Mississippi Lake to camp!
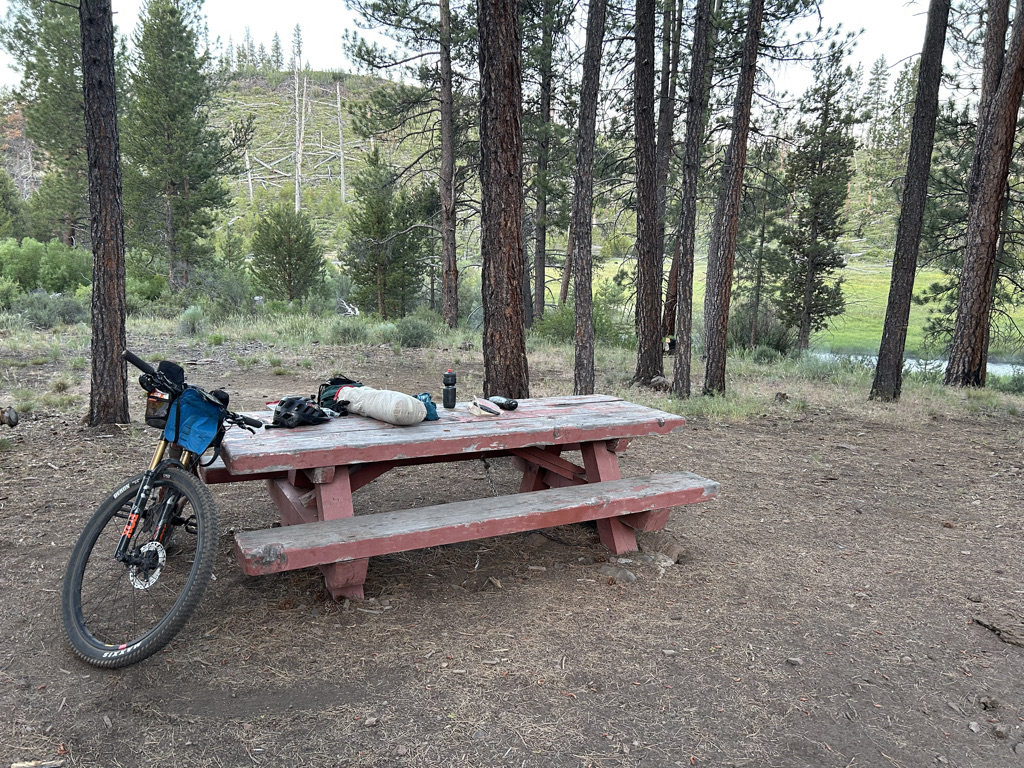
Mississippi lake has wonderful facilities for backcountry camping. There is a pit toilet fully stocked with paper, level tent spots and a couple of picnic tables. It is also a favorite spot for many probably rare water fowl that I had never seen or heard before, and we enjoyed hearing them splashing on the lake and making unusual calls, until it was time for sleep, at which point they went from being cute and idyllic to mildly annoying.
Day 1 Camp Menu:
- Beer – Easy Jack from Firestone in cans with Potato chips
- Back to Nature Harvest Whole Wheat Crackers, Hummus made from a dry mix, water & olive oil and smoked paprika, with some sliced avocado and tomato.
- Katmandu Curry from Backpackers Pantry.
- Vega chocolate coconut protein bar and 2 small cubes of dark chocolate coated coconut.
Day 2: Mississippi Lake, Orestimba Creek Exploration to Pacheco Camp
This day, our route took us down from Mississippi Lake along County Line Rd., where all along the left were views of the majestic Orestimba Wilderness. Since it’s closed to bikes, I thought it would be really nice to skirt the edges of it, so we could enjoy it from afar. We took Orestimba Creek Rd. to a little offshoot trail called Orestimba Creek Trail. This trail was classic beautiful rolling singletrack with more stunning wilderness views, without encroaching upon it. We were in heaven. Then there was more flat stuff along Orestimba Creek road. Then there was Long Ridge Rd. and our Bliss ended with a big cold slap in the face, Coe-style. The final grade has some pitches which are an insane 49%. Someone named that segment Holy Crap on Strava. Then the rest of the ride was peaceful with somewhat normal grades again until Pacheco Camp, where we rested and ate lots of food. Pacheco Camp is in a little hollow, with some old maintenance buildings, quite a large grassy area, and we had like 6 picnic tables all to ourselves. Water is easier here, with a sink and a hose. The water still needs to be filtered.
Morning Menu:
- Morning: Oatmeal & almond butter, Starbucks via instant, creamer
Evening Menu:
- A little packet of Miso soup to warm up
- More hummus and crackers
- Pad Thai from Backpackers Pantry with Sriracha (can’t leave home without it!)
- Dessert: Another Vega Bar and 2 squares of choco coconut
Day 3: Pacheco Camp back to Headquarters
This began with a beautiful climb up White Tank Spring trail. In the past, this trail must have been choked with brush and super gnarly. The hiker at the bottom asked if we were going up it and he said it was really narrow, a really awful trail. But luckily it had been recently worked on, and was perfectly clear and in awesome shape! The views from the top were absolutely stunning. We even found a pretty cool helicopter landing pad.
Then we meandered along Willow Ridge Rd, down Willow Ridge trail, another stunning beautiful downhill singletrack. Then up to Lost Spring, China Hole, Manzanita Point, and finally to Bruce’s great relief, back to headquarters!!
A quick change into clean clothes, and we were off to margaritas!
This was our very first time bikepacking, so there was lots to get used to with the way the bike handles with the load. Mostly, you just go slower, and squeeze your brakes harder than ever to stop all of that extra weight! But overall, I was super stoked with the gear we had, which mostly came from our backpacking setup, plus some bike bags.
Bikes
- Bruce: Ibis Ripley 29’er full suspension with 1×12, 32-50 granny.
- Julie: Ibis Tranny 29’er hardtail with 2×11, 22-42 granny.
Gear ratio calculator homework question: Which bike had better Coe gearing? 🙂 (Hint: The cheaper of the two drivetrains)
Bags
We stopped several times to add air to our forks and shock, and increase the firmness of our suspension to avoid having the bags hitting tire when the suspension compresses. Bruce’s rear tire wore a small hole into the outer cloth layer of his brand-new Arkel seat post bag. So it’s important to get this right. Bring a shock pump!
Revelate Sweet Roll – on the handlebars – I would give this high marks for quality construction and durability, but with anything up front, you do need to be careful to make sure it is well above your tire, and remains clear when your fork compresses. You do this by packing it with light stuff, checking your sag and adding air with the new weight, and you need to cinch it up super tight!
Arkel SeatPacker 15 – attaches to the top of the seatpost – This was pretty sweet! It is completely waterproof, and has no tail wag. It stays put on the bumpy descents, and even allows for a little bit of seat post drop on the downhill, since its attachment point is way up at the top of the post.With full suspension, you have to be careful to allow room for the shock compression. It seems way more stable than the equivalent Revelate seat post bag, which attaches on two points on the seat post. We loved that you can just unlatch one velcro and it slides off to take it off at night.
Revelate Ranger Frame Bag – inside the frame triangle – size Small:
The Medium Ibis Tranny frame fits a size Small framebag perfectly! I love this piece. It is super durable, waterproof, and the zippers are super chunky and durable. This is going to last me years. All of our Revelate stuff is bomb-proof.
Osprey Escapist 18 – on my back – I wanted a hydration pack that was slightly larger than my usual ride pack, but still svelt enough for riding. I have also used this for bike commuting to work with a change of clothes, etc. I barely noticed it, even though it weighed 11 lbs with 3 liters of water in it. It doesn’t come with the bladder, but it has a rain fly. It had room to spare for our 3 day trip.
Water filtering
Sawyer Mini – We tried a this water system using the squeeze bag for the first time on hearing about it on MTB Podcast. We spent an inordinate amount of time squeezing the filter bag to force the water through the tiny little filter. When you have 6 liters to filter between 2 people for the next day, plus your evening and morning cooking water, it becomes a bit of a chore. I think this system works best for drinking straight out of it like a straw. We both decided that for our use case, our Platypus GravityWorks system would have been better. You just fill it up and hang it, and it filters itself while you go do stuff that you’d rather do, like make food, relax, and take photos. They would weigh roughly the same.


